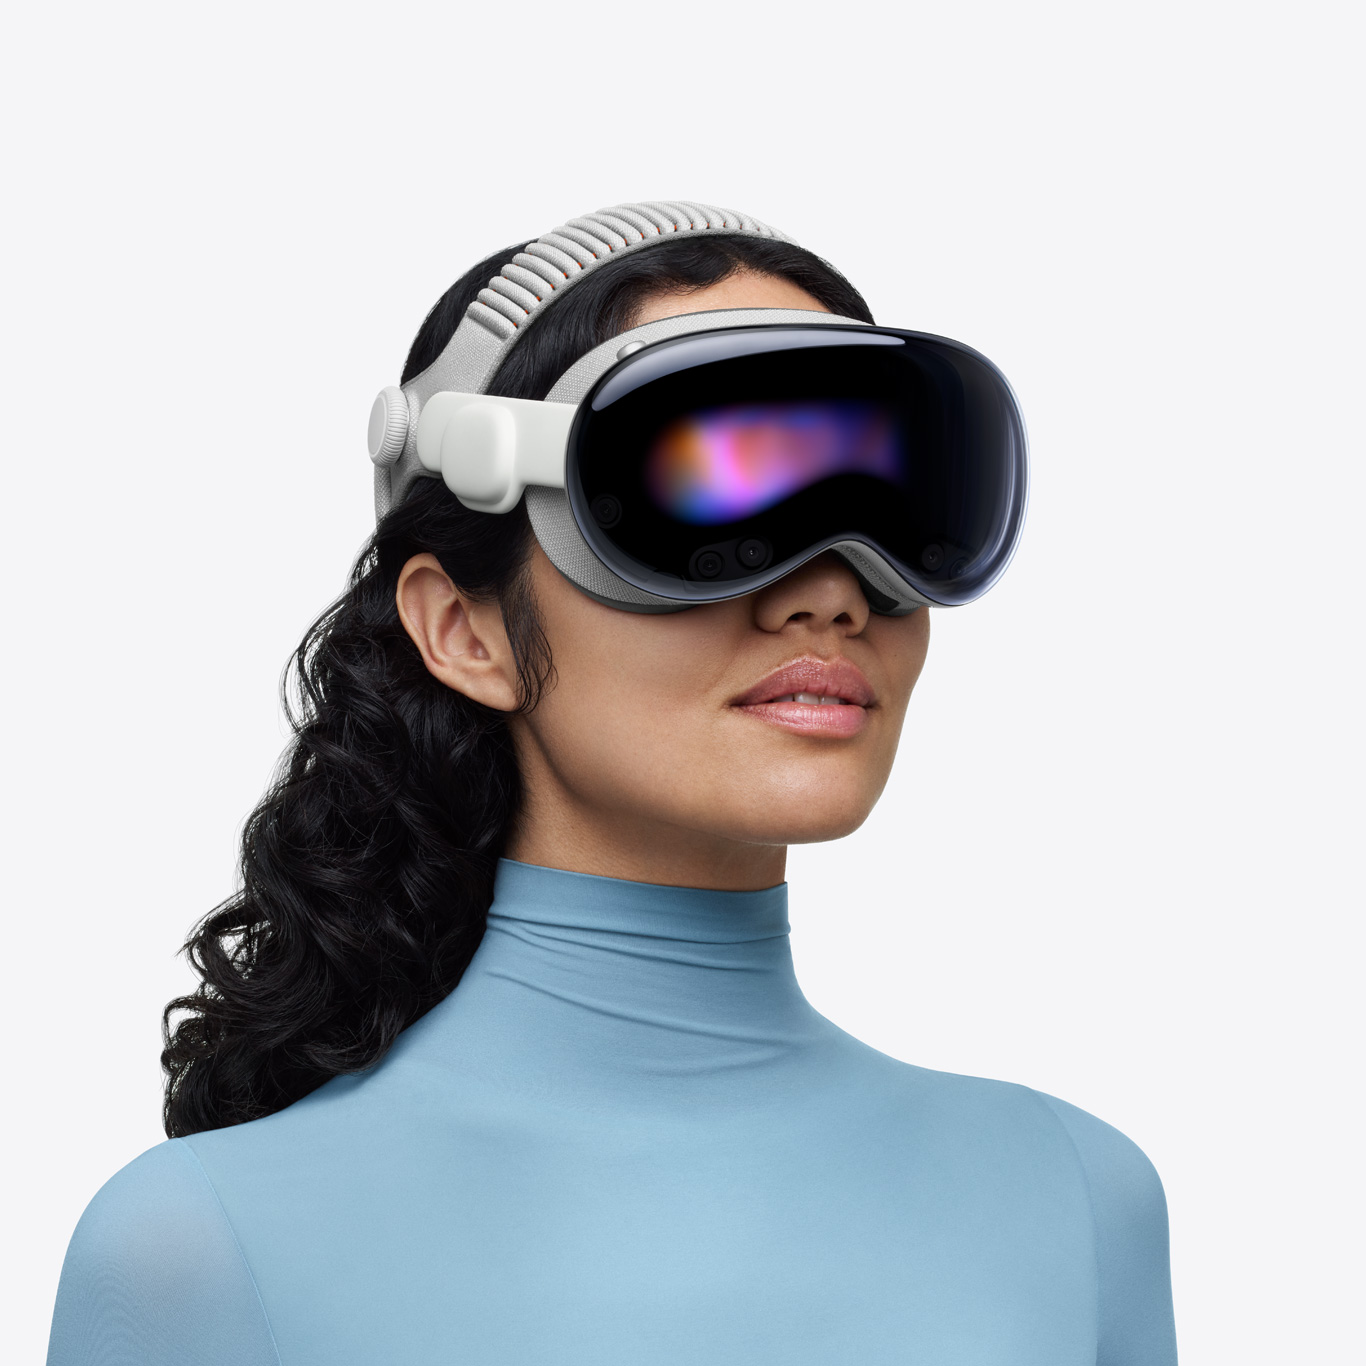
visionOS is Apple's operating system for spatial computing, powering Apple Vision Pro. Getting started as a visionOS developer means learning new interaction paradigms, a distinct architectural model, and spatial design principles that differ fundamentally from flat-screen development.
This guide covers the practical path to visionOS development for engineers coming from iOS, macOS, or other XR platforms.
Understanding the visionOS Architecture
visionOS apps can exist in three modes, and understanding this is the starting point for everything else:
Windowed (Shared Space): Your app runs alongside other apps as flat or 3D windows floating in the user's physical environment. This is the default for productivity apps and the most common mode for apps that feel like familiar software in a spatial context.
Volumetric (Shared Space): Your app occupies a bounded 3D space within the user's environment. Other apps are still visible and accessible. This works for apps with 3D content that needs physical depth without requiring total immersion.
Full Space: Your app takes over the entire visual field, similar to a VR experience. Other apps are hidden. This is for gaming, simulation, immersive media, and any experience where the user's full attention should be in the application.
Most enterprise applications start in windowed or volumetric mode. Full space is reserved for experiences that genuinely require total immersion.
Frequently Asked Questions
Do I need an Apple Vision Pro to develop for visionOS?
No. Xcode includes a visionOS Simulator that lets you build and test apps without hardware. However, testing on device is recommended before shipping.
What programming language is visionOS?
visionOS apps are primarily built with Swift and SwiftUI, with 3D content created using RealityKit and Reality Composer Pro.
Explore Reality Atlas
The Industry Directory for XR, AR/VR & Spatial Computing.
SwiftUI is the primary UI framework for visionOS. Apple extended it with 3D-specific components including RealityView for embedding 3D content, Model3D for loading USDZ models, and spatial layout modifiers for positioning content in 3D space.
If you know SwiftUI for iOS, the transition to visionOS is more natural than moving from another XR platform. The mental model is similar, extended into three dimensions.
RealityKit
RealityKit handles the 3D rendering, physics simulation, animation, and spatial audio for visionOS. Key concepts:
RealityView embeds RealityKit content within SwiftUI. Entity-Component-System (ECS) architecture organizes 3D objects. ARKit integration provides environment anchoring, plane detection, and hand tracking through the device's sensors.
ARKit on visionOS
ARKit underlies the environment understanding capabilities of visionOS. Key capabilities:
Plane detection identifies horizontal and vertical surfaces in the physical environment. Spatial anchors persist the location of digital content relative to physical space across sessions. Scene reconstruction builds a mesh of the surrounding environment.
Accessing ARKit sensors requires explicit user permission. visionOS has strict privacy requirements around camera, LiDAR, eye tracking, and environment scanning. Plan your permission request flows carefully.
Setting Up Your Development Environment
You need a Mac running macOS 14 Sonoma or later, Xcode 15.2 or later, and optionally an Apple Vision Pro device for on-hardware testing. The Xcode simulator allows UI development and basic testing without a device but cannot simulate spatial audio, eye tracking, or physical space awareness.
Creating Your First visionOS Project
Open Xcode and create a new project. Select the visionOS platform. You'll see three starting templates: Windowed App (starts in shared space with standard windows), 3D App (starts in shared space with RealityKit integration), and Immersive Space App (starts in full space).
For most enterprise applications, start with the Windowed App template and add volumetric or immersive capabilities incrementally as your understanding of the platform deepens.
Essential WWDC Sessions
Apple's WWDC sessions remain the most reliable technical reference for visionOS development:
"Meet SwiftUI for spatial computing" covers the extensions to SwiftUI for visionOS. "Develop your first immersive app" walks through a complete project from creation to deployment. "Create accessible spatial experiences" covers the VisionAccessibility framework. "Design spatial UI" provides the principles for spatial interface design.
These sessions are free at developer.apple.com/videos.
Spatial Design Principles
Spatial design on visionOS follows principles that Apple has documented in the Human Interface Guidelines for visionOS. Key ones for developers coming from other platforms:
Windows follow the user. visionOS windows are attached to the user's space and reposition as the user moves. Don't try to fix windows to the physical environment unless you explicitly need spatial anchoring.
Content in a comfortable visual zone. Apple recommends placing primary content within 1-2 meters and a 180-degree arc around the user. Content placed behind or far from the user creates discomfort.
Don't compete with the user's environment. In shared space, your app exists alongside the user's room. Use depth, blur, and visual weight to establish hierarchy without overwhelming the user's physical surroundings.
Eye tracking is not a cursor. Eyes are an input signal for selection, not a cursor that tracks continuously. Design for dwell-based selection or gaze-plus-gesture confirmation, not continuous eye cursor tracking.
Testing on Device
The visionOS simulator covers most UI development work but cannot simulate several critical experiences: spatial audio positioning, the actual field-of-view constraints of the device, hand tracking with real hands, and anything requiring the passthrough camera or LiDAR.
For applications where spatial placement, physical interaction, or environment awareness matter, device testing is not optional. Budget for hardware if you're building production applications.
Common First-Timer Mistakes
Not testing in the simulator's different space modes: The simulator lets you switch between windowed, volumetric, and immersive modes. Test all modes your app supports.
Importing UIKit patterns directly: UIKit and SwiftUI for flat iOS need adaptation for visionOS. Hover effects, long-press menus, and touch patterns need to be reconsidered for eye-and-pinch interaction.
Ignoring spatial audio: visionOS spatial audio is a core part of immersion. Applications that add spatial audio thoughtfully feel dramatically more present than those that use only stereo output.
Forgetting that users are in a physical room: UI elements that fly toward the user, unexpected full-space launches, or experiences that eliminate environmental awareness feel disorienting and create poor first impressions.
Resources for Continued Learning
Apple Developer documentation at developer.apple.com/visionos provides the official reference for all frameworks.
The Human Interface Guidelines for visionOS contain Apple's spatial design principles and are worth reading entirely before starting UI design work.
The Apple Developer Forums have an active visionOS section where Apple engineers respond to technical questions.
ShapesXR's case study on Treeview's visionOS spatial UI implementation provides a real-world example of applying these principles in a production enterprise application.
Getting started with visionOS development requires investing time in platform-specific patterns rather than adapting existing skills directly. The developers who succeed on the platform most quickly are those who treat visionOS as a new paradigm rather than an extension of iOS development. The Human Interface Guidelines, WWDC sessions, and on-device testing are the most reliable path forward.
Getting started with Apple Vision Pro and visionOS
Writing visionOS code in Xcode for spatial experiences
Testing spatial computing apps on Apple Vision Pro